

How to Login on Phoneo Seller CRM
This tutorial explains how to login to Phoneo Seller CRM, a complete mobile shop management software designed for mobile retailers and phone shop owners. In this video, you will learn the step-by-step process to securely login to your Phoneo Seller account and start managing your mobile shop digitally with confidence. Phoneo Seller CRM helps mobile shop owners manage IMEI-wise inventory, GST and non-GST billing, customer records, staff access, daily sales reports, profit tracking, and complete shop operations from one dashboard. This login tutorial is useful for new Phoneo users, existing shop owners logging in from a new device, and staff members accessing the Phoneo Seller CRM for daily work. The video also helps users understand the correct Phoneo login method, avoid common login mistakes, and ensure secure access to their mobile shop data. Phoneo is a trusted mobile shop CRM and inventory management system used by mobile retailers to reduce errors, save time, prevent stock mismatch, and grow their business digitally. This tutorial is ideal for mobile phone shops, second-hand phone dealers, and retail mobile stores looking for a reliable mobile shop management software in India. Video Type: Tutorial Topic: How to Login on Phoneo Seller CRM Software Category: Mobile Shop Management CRM Target Audience: Mobile Shop Owners, Mobile Retailers, Phone Dealers Primary Purpose: Login and account access guidance Business Use Case: Inventory management, billing, customer management. [Phoneo login Phoneo Seller CRM login How to login Phoneo Mobile shop management software Mobile shop CRM India Inventory management for mobile shop GST billing software for mobile shop IMEI stock management system CRM for mobile retailers Phoneo tutorial]
Profile Setup - Step-by-Step Guide
Use this section to complete your shop profile so that all your shop address, bills and details show correctly.
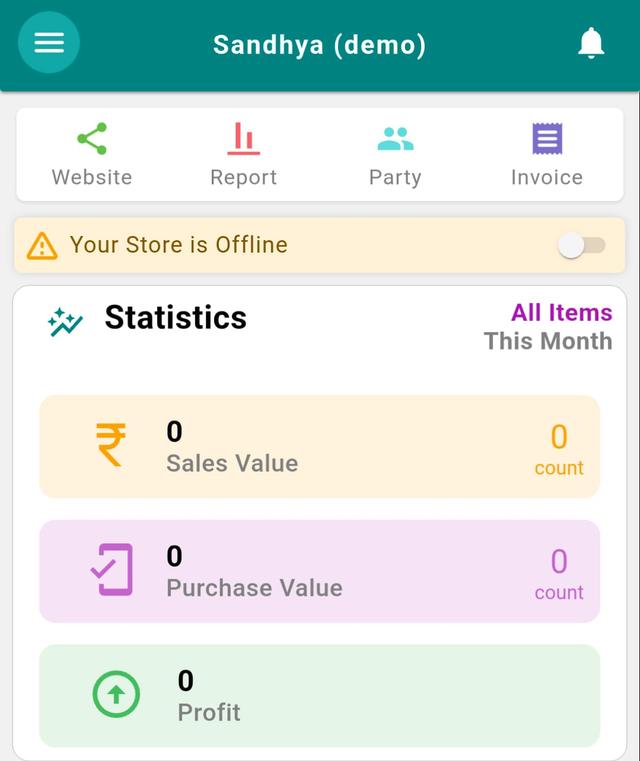
Step 1: Open your Phoneo account
- 1.Tap the menu icon (three lines) in the top-left corner.
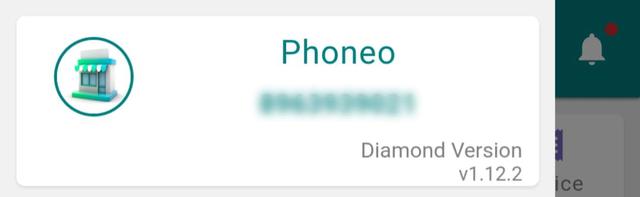
- 2.At the top of the menu, tap on your Shop Card(the box showing your shop name, mobile number, and app version).This will open your Profile Page.
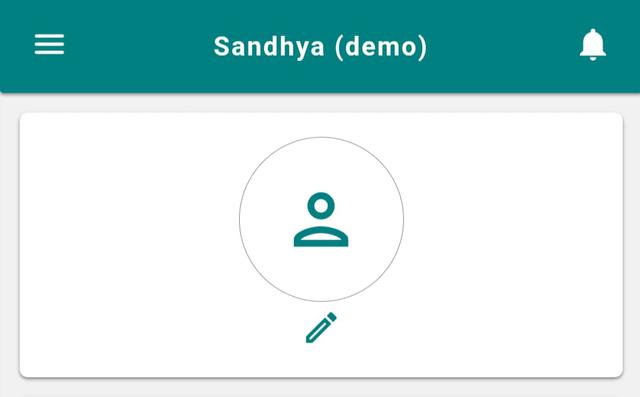
Step 2: Set Your Profile / Shop Photo
- 1.On the top of the profile screen, tap on the profile picture area.
- 2.Choose and upload your photo or your shop's photo.
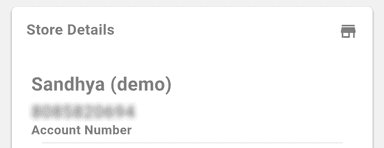
Step 3: Check Your Shop Name
You will see your Shop Name already filled.
This is the same name you entered at the time of login / registration. If it's correct, leave it as it is.
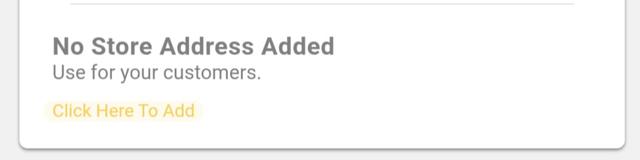
Step 4: Enter Your Store Address
- 1.In the Store Address field, enter your shop's full address(building/plot no., area, city, state, pincode).
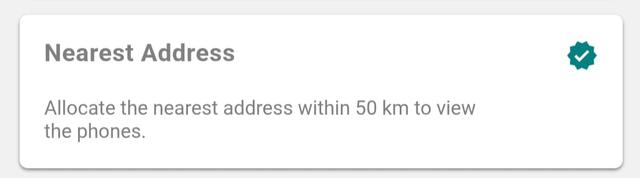
Step 5: Add Nearest Address / Landmark
This helps customers easily find your shop.
- 1.Tap on the "Nearest Address" tab.
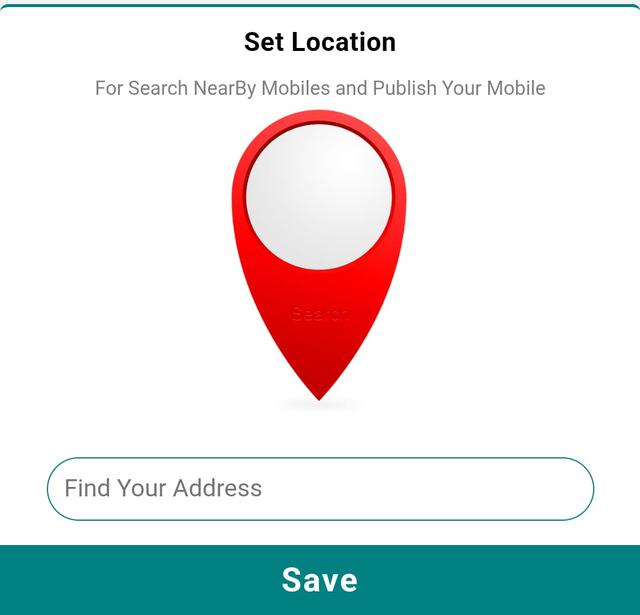
- 2.In the search bar, search your shop's nearby location(famous point, landmark, square, etc.).
- 3.Select the correct location from the list.
- 4.Tap Save.
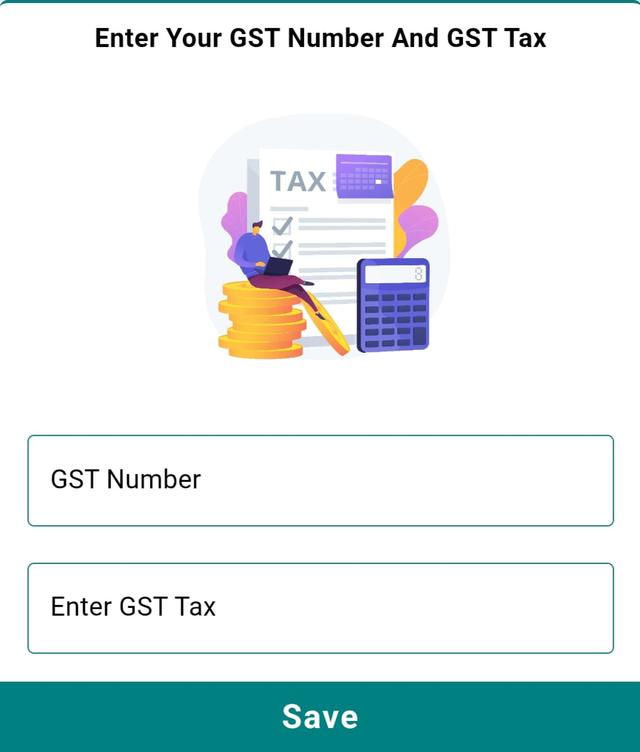
Step 6: Add Your GST Number (Optional)
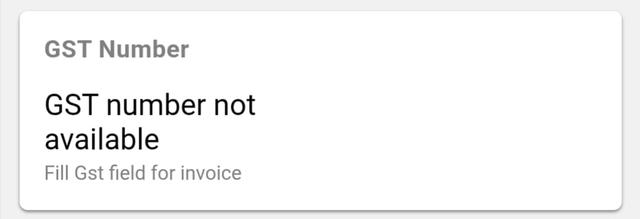
- 1.Tap on the card
- 2.In the GST Number field, enter your GSTIN if you have one.
- 3.This GST number will be used on your GST invoices.
- 4.If you don't have GST, you can skip this field.
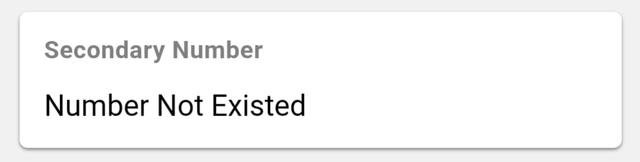
Step 7: Add Secondary Mobile Number (Optional)
- 1.In the Secondary Number field, enter another mobile number(partner's number, alternate shop number, etc.)if you use any.
- 2.This helps customers reach you if the primary number is not available.
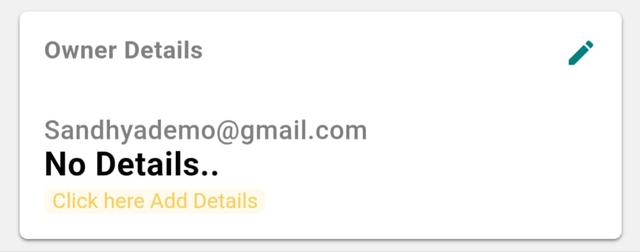
Step 8: Fill Owner Details
- 1.Tap on the card showing owner details
- 2.Tap on the "Owner Details" tab.
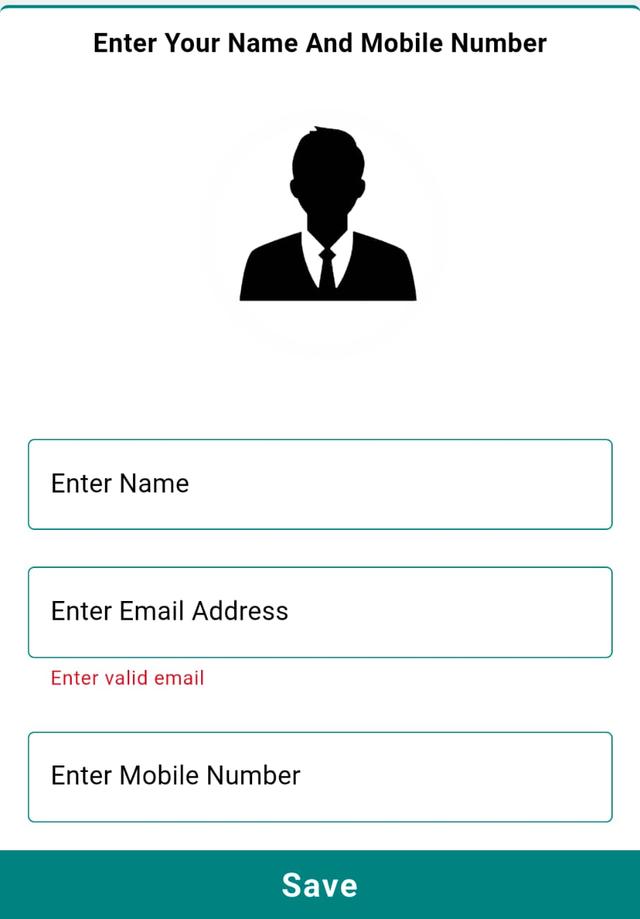
- 3.Fill the required fields:
- Owner Name
- Email ID
- Mobile Number
- 4.After filling all details, tap Save.
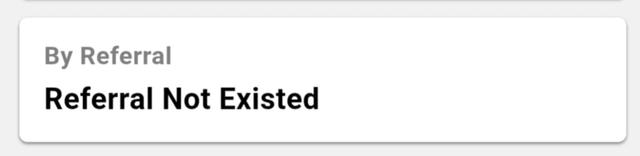
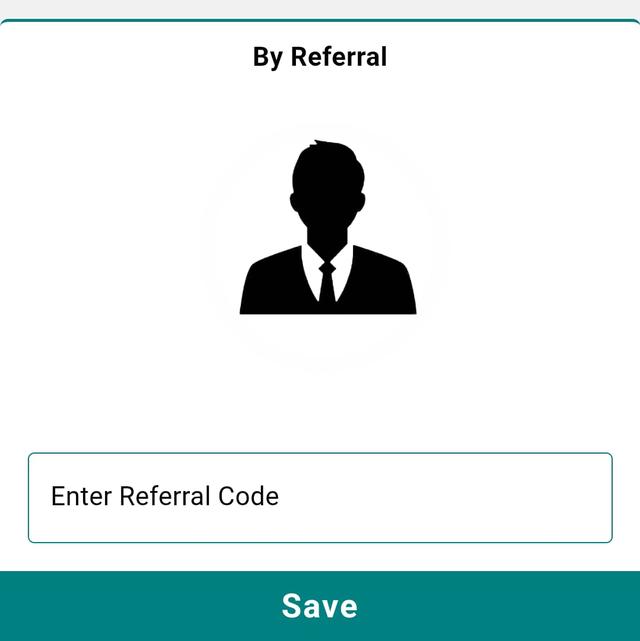
Step 9: Enter Referral Code (If Any)
- 1.Go to the "Referral" tab.
- 2.If you have any referral code, enter it in the given field.
- 3.Tap Save / Apply.
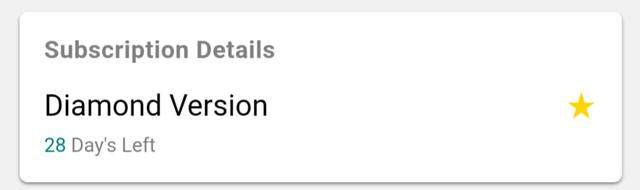
Step 10: View Your Subscription Details
- 1.Open the "Subscription Details" tab.
- 2.Here you can see which subscription is currently active on your account.
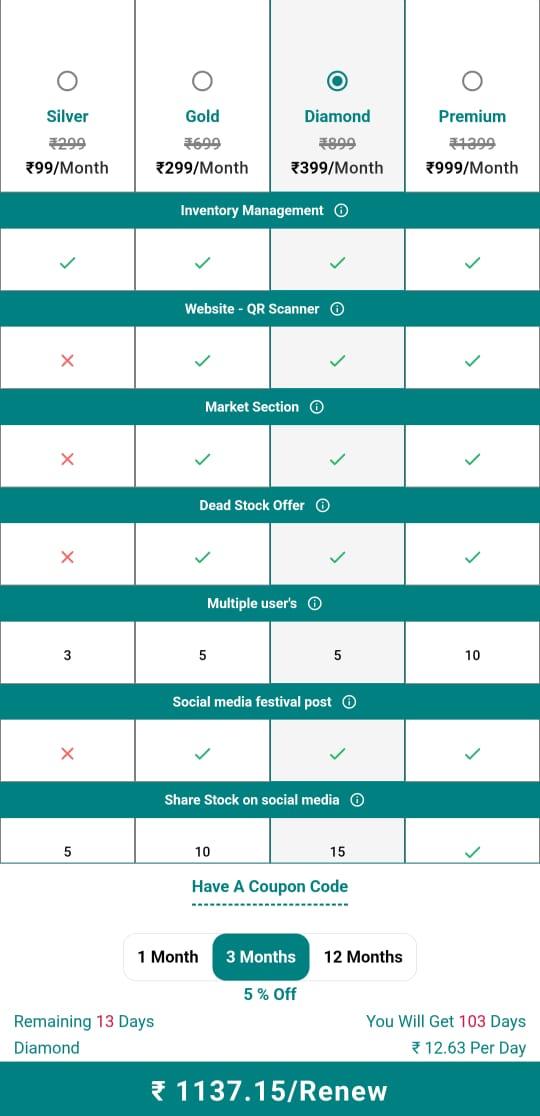
Step 11: Check Subscription History
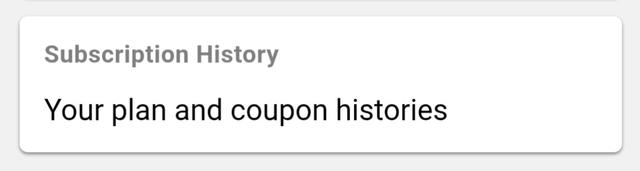
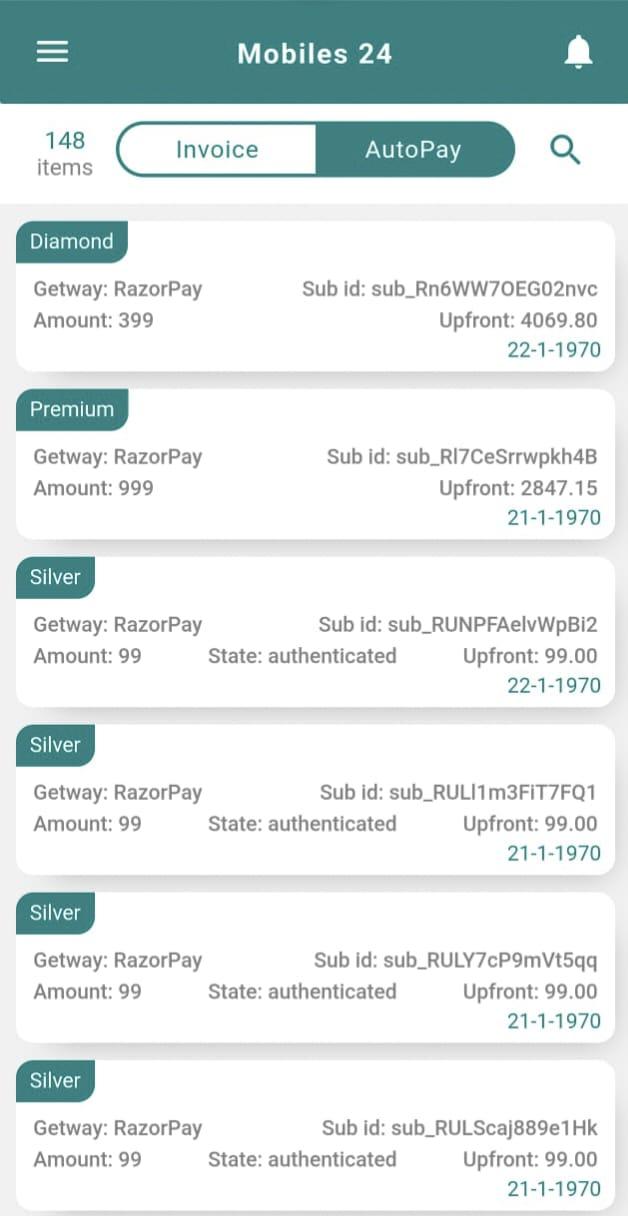
- 1.Go to the "Subscription History" tab.
- 2.Here you can see all your previous subscriptions and their expiry dates / durations.
Final Check
Make sure all the details are correct and saved on each tab.
Once done, your profile setup is complete and ready to use for inventory, billing and other features.