

How to Add Second Hand Phone Stock with IMEI in Phoneo
This tutorial explains how to add second hand phone stock with IMEI in Phoneo Seller CRM, a mobile shop management software built for mobile retailers. In this video, you will learn the complete process of adding used mobile phones into Phoneo with IMEI number, device details, condition, and purchase information to ensure accurate stock tracking. Phoneo allows mobile shop owners to manage second hand phone inventory in an IMEI-wise system, helping prevent stock mismatch, fraud risk, and record errors. Each used phone entry is securely linked to its IMEI for full traceability. This tutorial is useful for mobile shop owners dealing in used phones, refurbished devices, and exchange phones who want a reliable system to track second hand mobile stock. The video also explains best practices for managing used phone inventory, including maintaining IMEI records, tracking purchase and resale history, and monitoring profit on each device. Phoneo Seller CRM helps mobile retailers manage second hand phone stock, billing, customer records, and daily sales reports from a single dashboard. This tutorial is ideal for mobile phone shops, second hand mobile dealers, and retail stores looking for a secure and efficient way to manage used phone inventory with IMEI tracking. Tutorial Type: Inventory Management Topic: Add Second Hand Phone Stock with IMEI Phone Category: Used and Refurbished Mobile Phones Software Category: Mobile Shop Management CRM Target Users: Mobile Shop Owners, Second Hand Phone Dealers Business Use Case: IMEI-wise stock tracking and fraud prevention. How to add second hand phone stock Second hand phone IMEI entry Used mobile inventory management IMEI tracking for second hand phones Mobile shop CRM for used phones Phoneo second hand phone stock Inventory management for mobile shop Second hand mobile dealer software Phoneo Seller CRM tutorial, Used phones, 2nd hand phones, 2nd phones, used mobile, second hand mobile, 2nd hand mobile, old phhones, old mobile.
Second-Hand Phone Purchase - Step-by-Step Guide
Use this flow to add a used phone into your stock so pricing, notes, photos, and IMEI details are captured correctly.
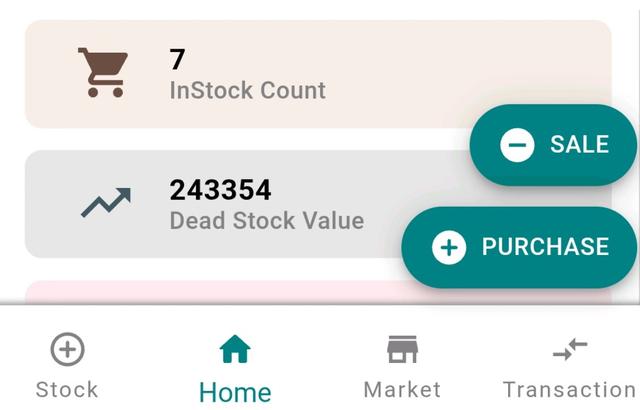
Step 1: Start a New Purchase
- 1.Open the app and go to the Home page.
- 2.Tap on Purchase.
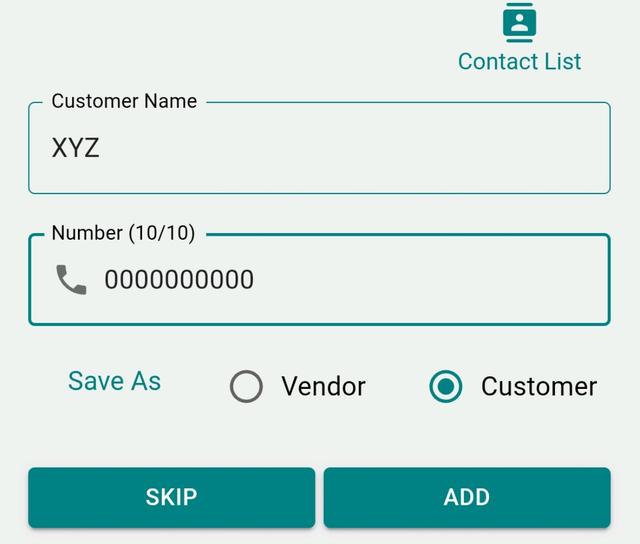
Step 2: Add Party Details (Optional)
- Enter Name or Mobile Number.
- Select whether the party is a Customer or Vendor.
- You may select directly from contacts.
- You can skip this step if needed.
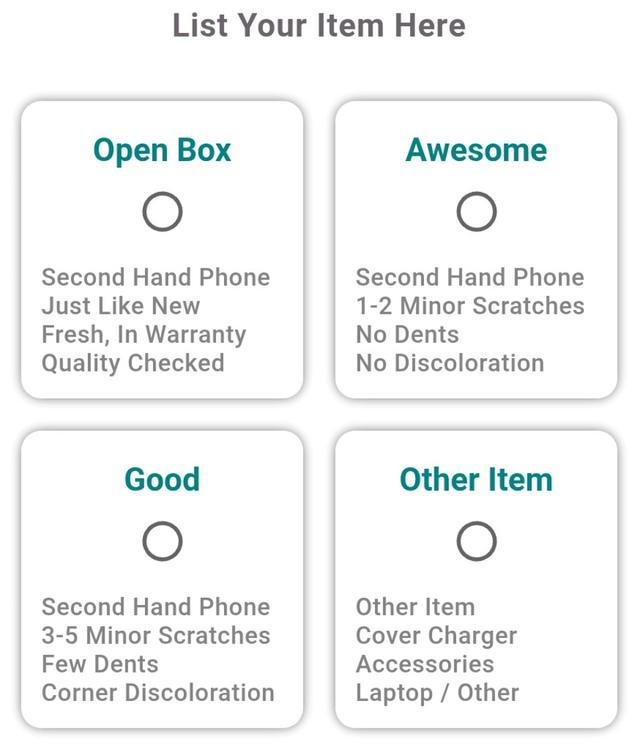
Step 3: Choose Phone Condition (Second-Hand)
- 1. Select the phone condition from the available options:
- Open Box - Like new, in warranty
- Awesome - Minor scratches, no dents
- Good - Visible scratches and corner wear
- 2. Tap the condition you want to apply.
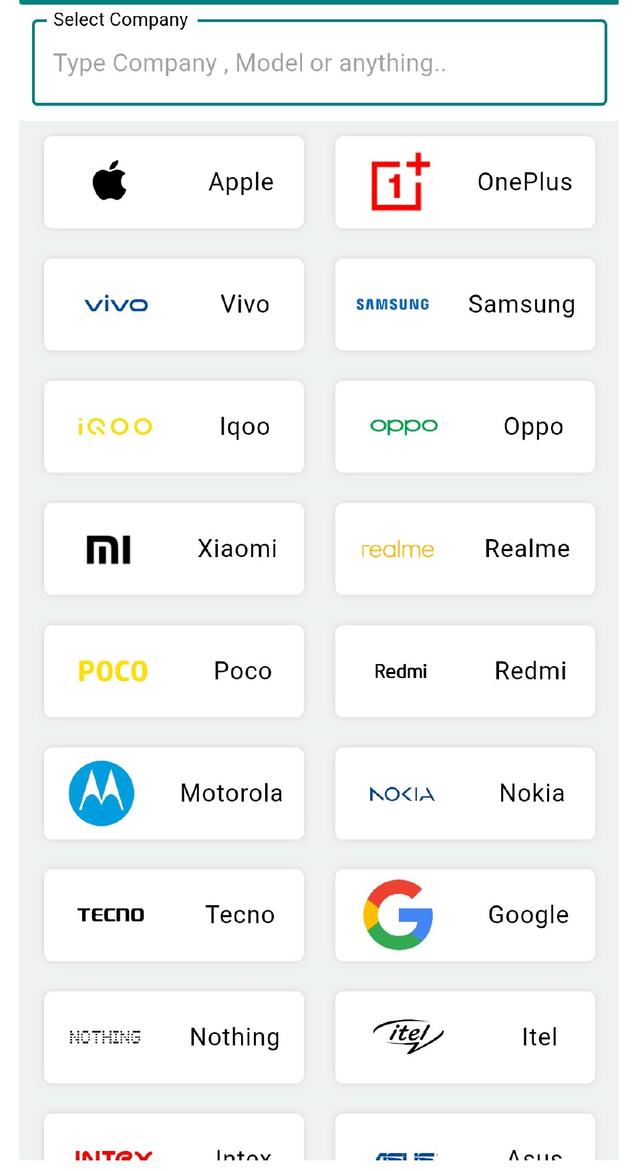
Step 4: Select Company (Brand)
- Tap Company.
- Search the brand name if required.
- Select the correct brand.
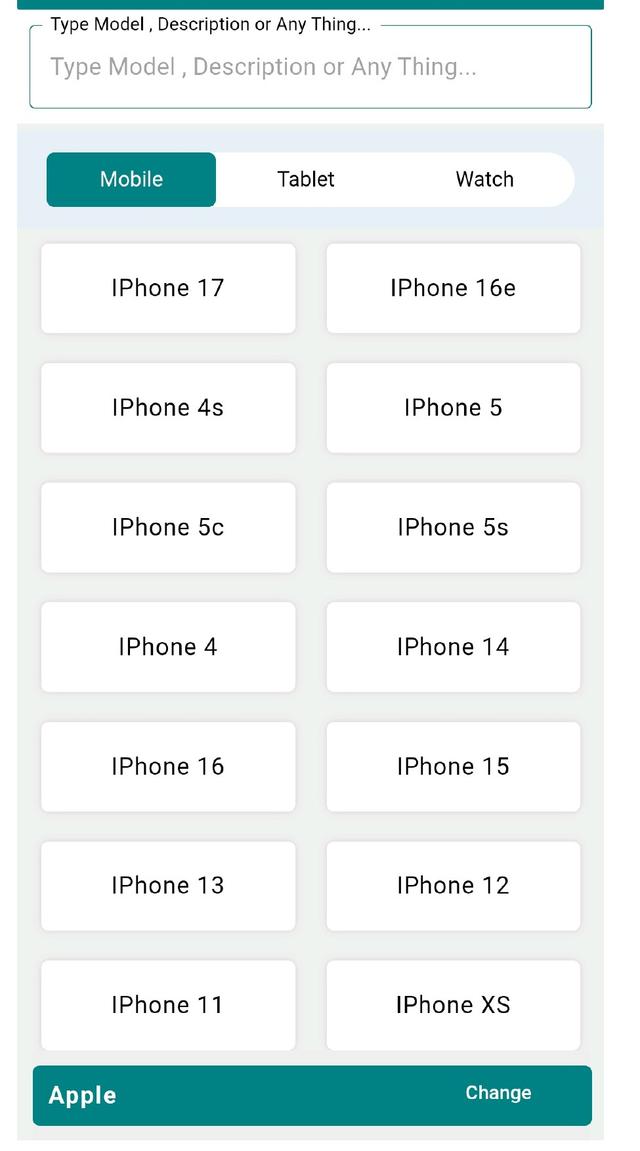
Step 5: Select Model
- Tap Model.
- Search the model name.
- Select the correct model.
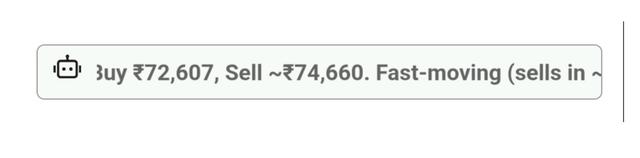
Step 6: Check AI Suggestions
- On the next screen, look at the AI-generated suggestion shown at the top.
- Use it as guidance for what to keep in stock and suggested Buy / Sell pricing.
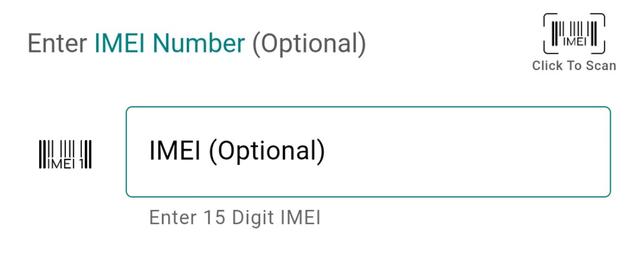
Step 7: Add IMEI Details (Optional)
- Scan IMEI or enter manually.
- You can add both IMEIs if available.
If you don't want to add IMEI now, you can skip
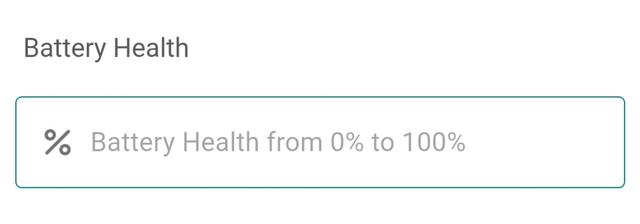
Step 8: Enter Battery Health (Mandatory for iPhone)
Battery health is required when the selected phone is an iPhone.
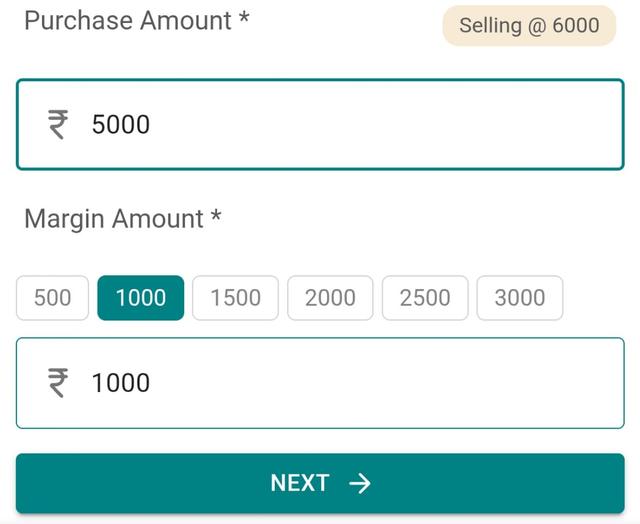
Step 9: Enter Purchase Amount
- In Purchase Amount, enter the price you are paying for the phone.
- Next, enter the margin amount.
- The margin amount is the extra price you add to the purchase amount to earn profit when selling the phone.
- The selling amount is auto-calculated by adding purchase and margin amounts.
- Tap Next.
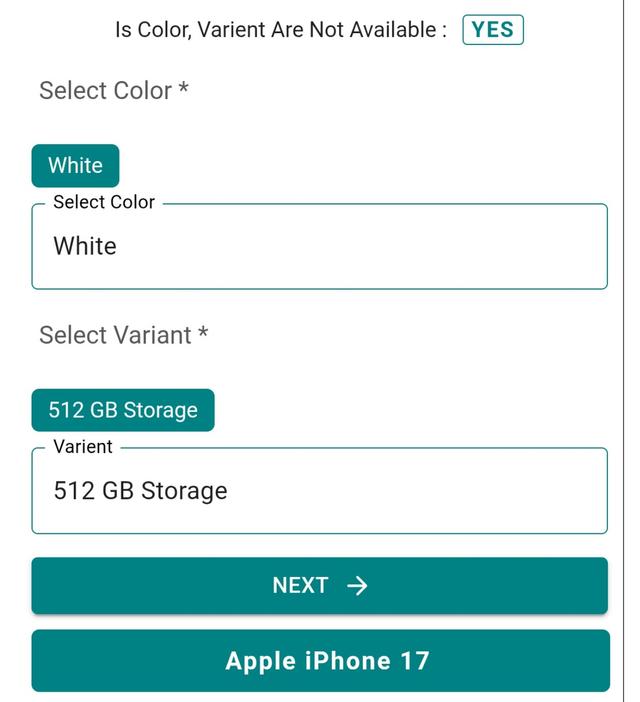
Step 10: Choose Color and Variant
- Select Color from the available options (pre-filled).
- Select Variant from the available options (pre-filled).
- Tap Next.
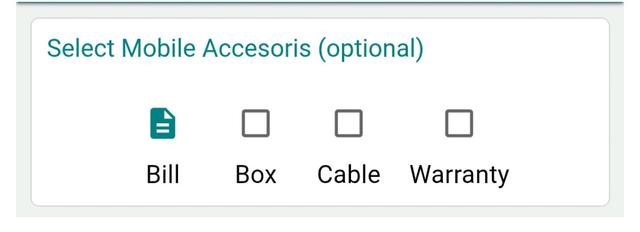
Step 11: Select Included Accessories (Optional)
- Select accessories available with the phone (if any), such as:
- Bill, Box, Cable, Warranty (optional).
- Continue to the next step.
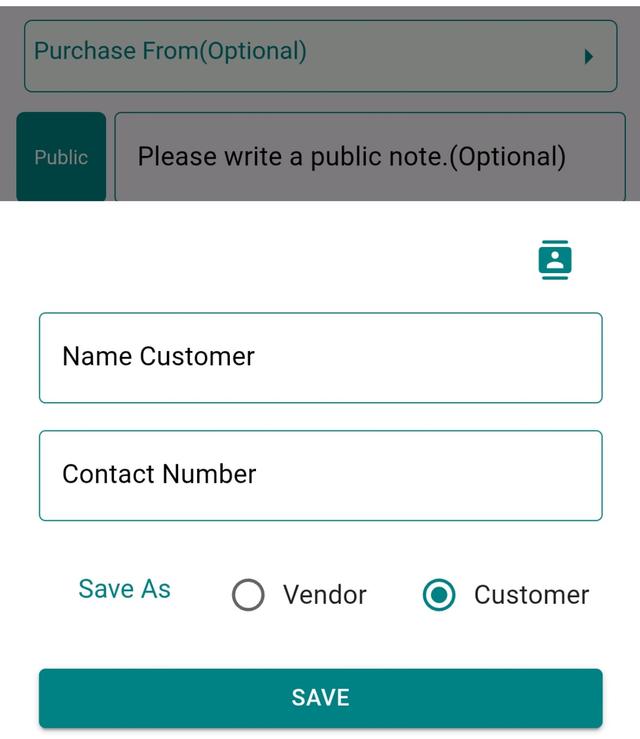
Step 12: Add Customer Details.
If you skipped party details in Step 2, enter Customer Name and Customer Number here.
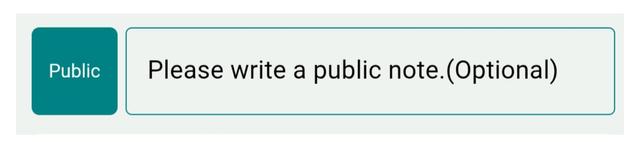
Step 13: Add Notes (Public / Private)
Public notes are visible to customers. Private notes are for internal use.
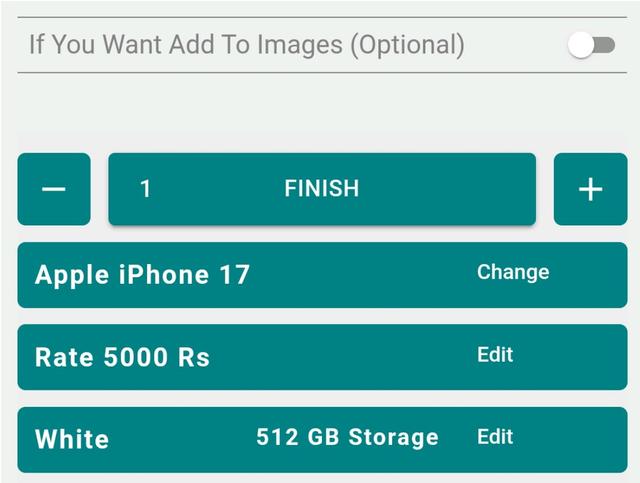
Step 14: Finish Without Images
If you don’t want to upload images, tap Finish to complete the purchase entry.
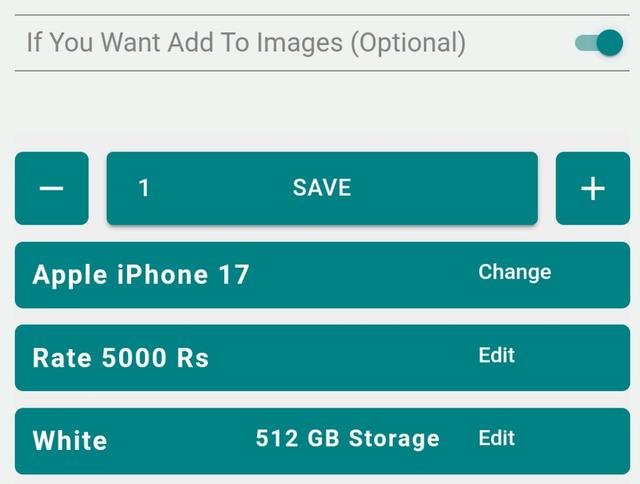
Step 15: Save With Images (Optional)
- Turn ON the image toggle if you want to add photos.
- Tap Save.
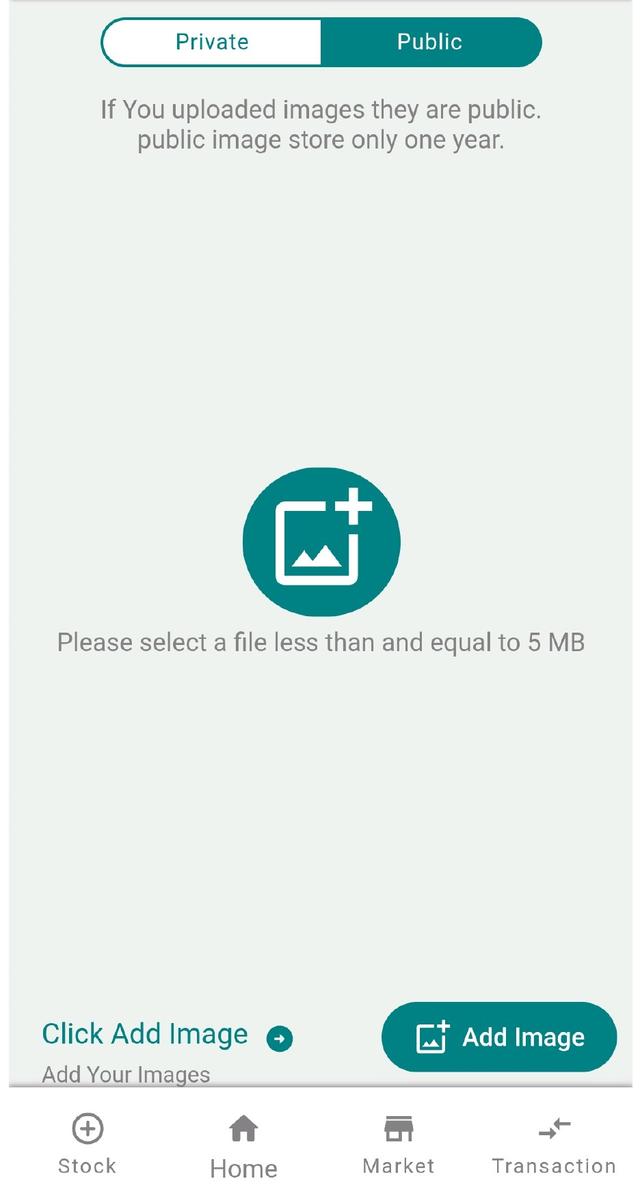
Step 16: Upload Public & Private Photos
- Click on Add image.
- Upload using Camera (click live photo) or Gallery (select existing).
- Upload Public Photos (phone photos visible to customers).
- Upload Private Photos (customer ID, bills, proofs — visible only to you).
- Rotate the image as needed and set it as the thumbnail.
- Then click on save.
- Tap stock to complete.
- You can see your stock here.
Final Check
Confirm each screen is saved properly.
Once saved, the phone is ready for inventory, pricing, and customer-facing display.